The Best Ever Upside-Down Paleo Rhubarb Cake

Makes 12 squares
This cake is one of my new favourite recipes! Fun fact - I would do just about anything for stewed rhubarb, technically it’s a vegetable, but I think it has one of the most interesting flavours and tastes divine.
The tricky thing about rhubarb is that by itself, it is extremely sour. So to create a delicious cake where the flavour of the cake complements the rhubarb, we need just enough sugar to take out the extremity of the sourness, but keep the interesting notes from the rhubarb.
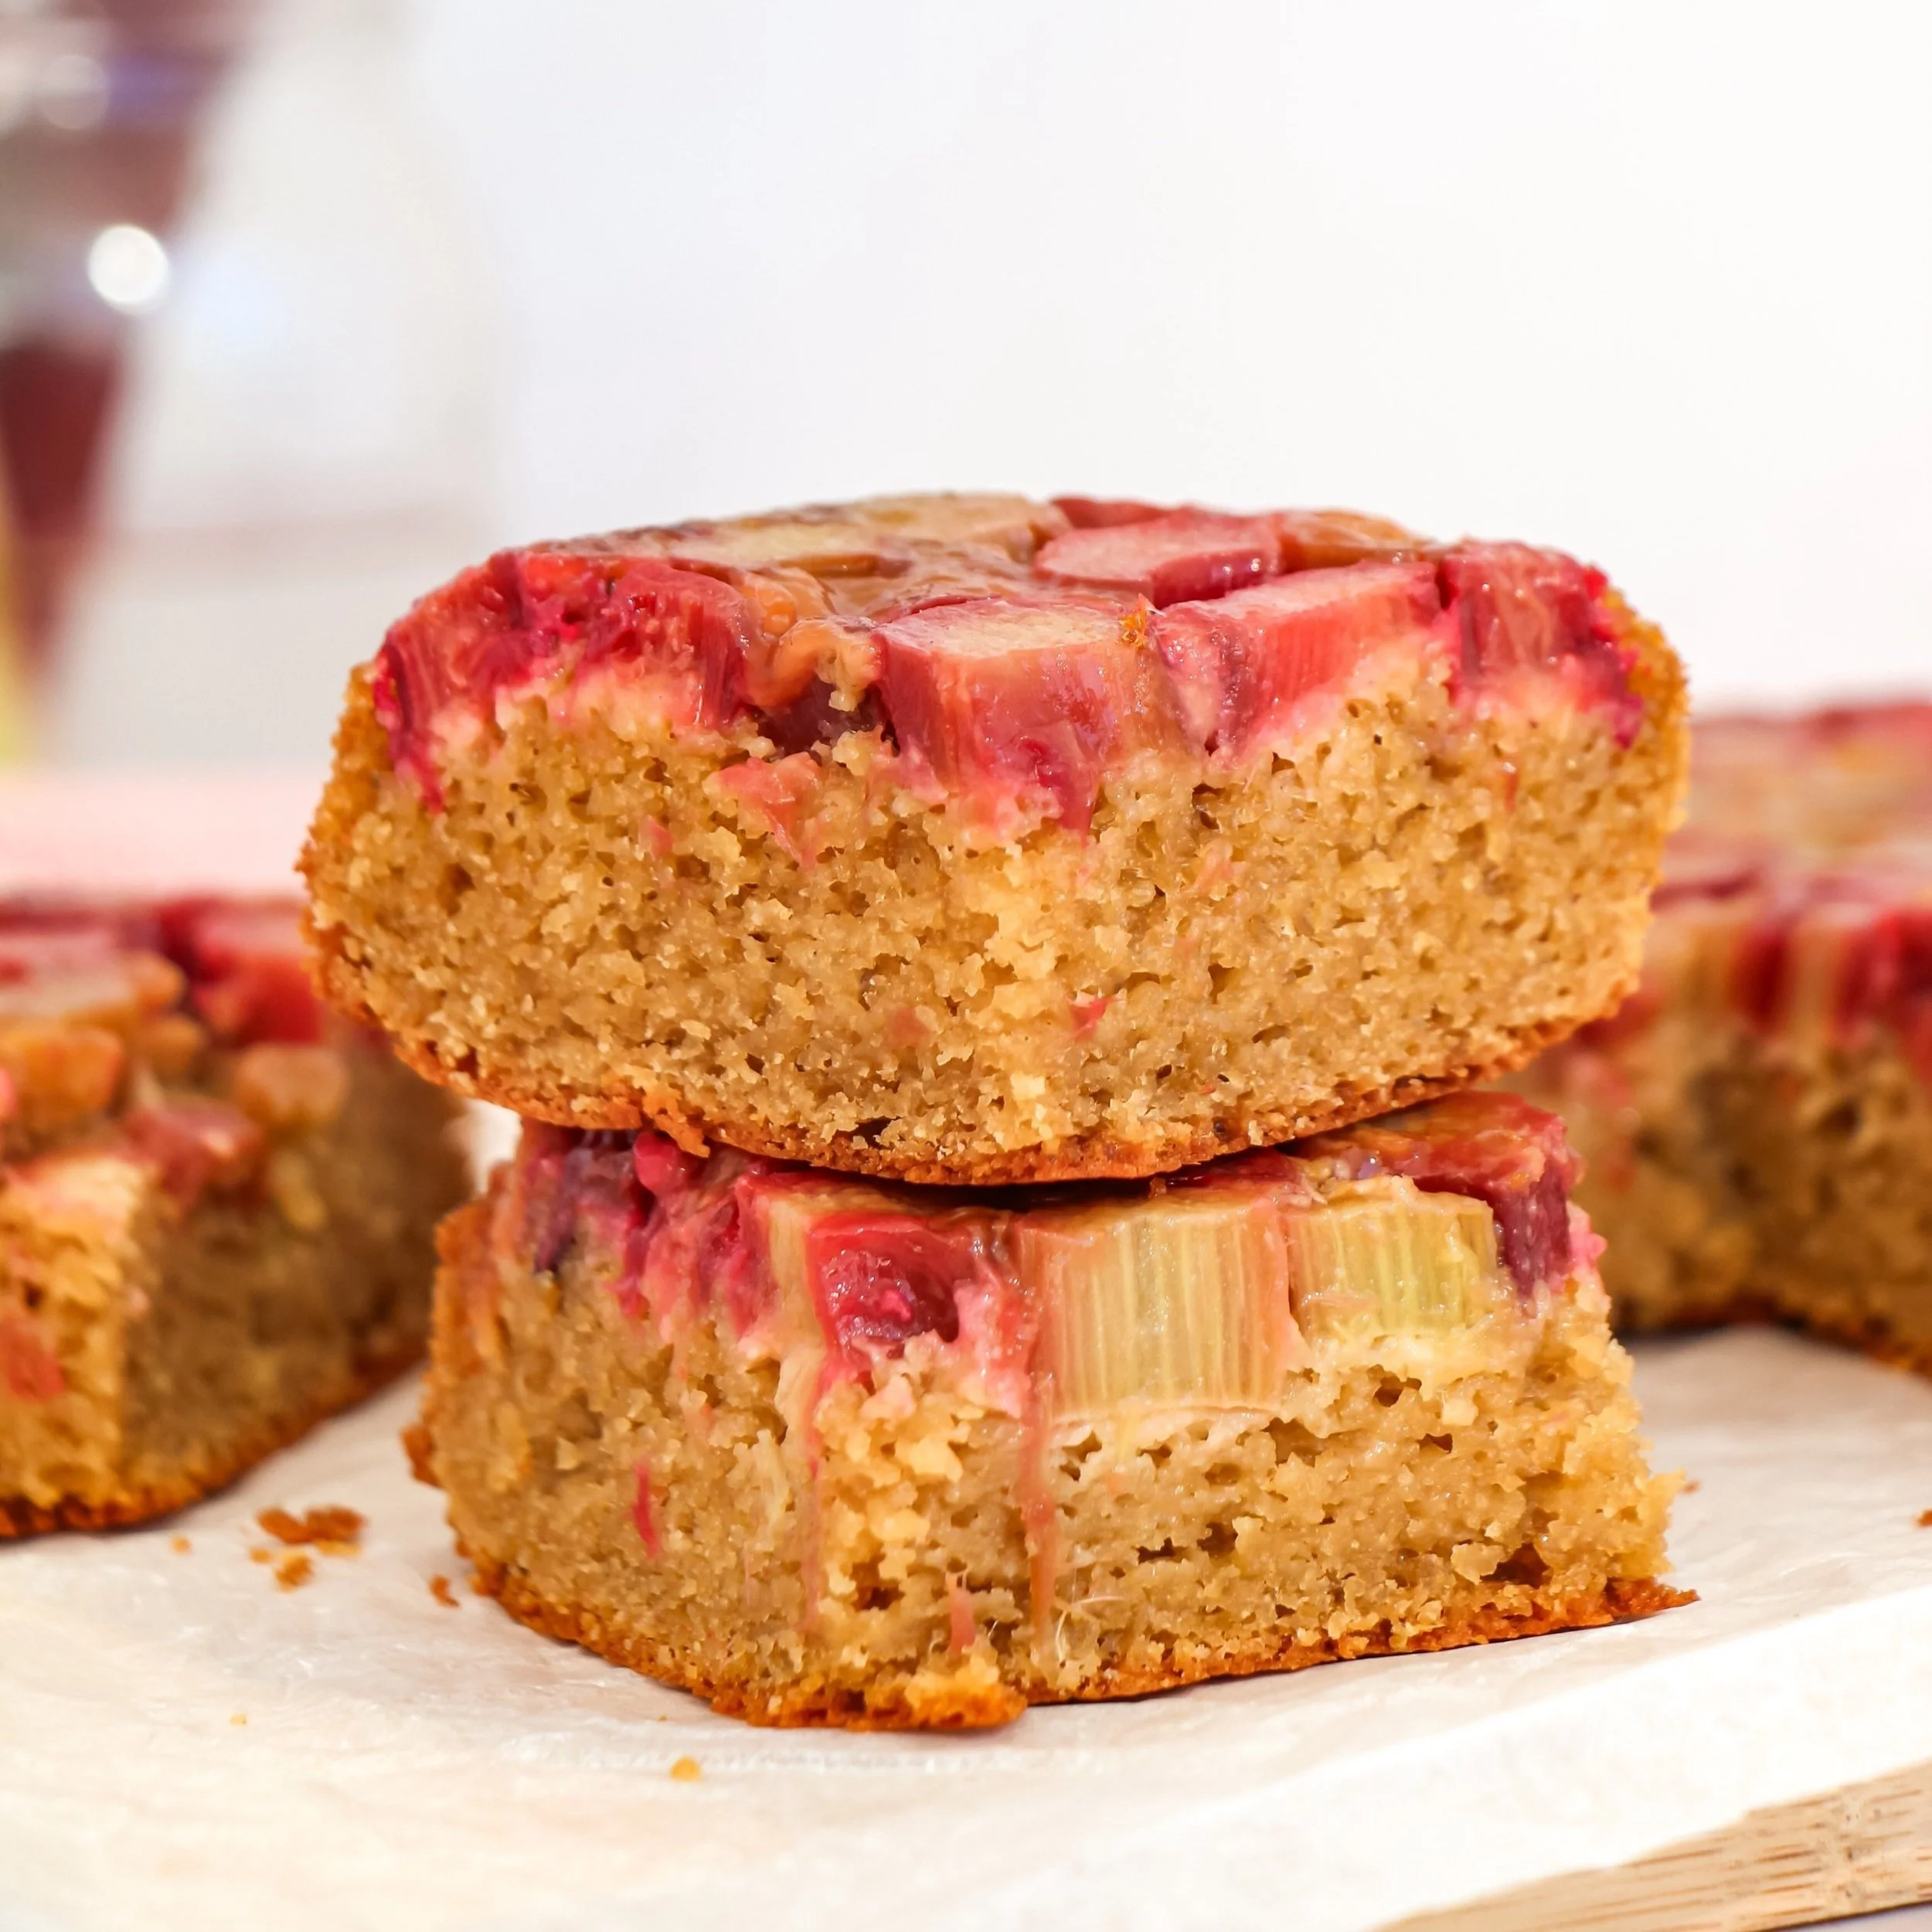
Enter my Paleo Upside-Down Rhubarb Cake, which is a perfect blend of tangy rhubarb and a delicious grain-free cake. This moist and tender cake has a divine texture, and is light and fluffy, all while remaining gluten-free and dairy-free.
UPSIDE-DOWN CAKE RECIPE
Feel free to get creative with how you top this cake. I used a 26cm x 18cm dish, so my rhubarb perfectly fit the bottom of the dish. If you use a bigger or smaller dish you may need to use a different amount of rhubarb, but prepare the amount listed below and see how you go.
The key to creating a good upside-down rhubarb cake is to lay the rhubarb so it is touching and the cake batter can’t get through. I placed my rhubarb cut side down, and as rhubarb has a natural C shape, I faced the rhubarb all the same way and created lines from one side of the dish to the other.
As I mentioned, you can create whatever patterns or styles of laying the rhubarb, just make sure that they are packed together tightly and there are no gaps (you shouldn’t be able to see much of the bottom of the dish!). You can create diagonals, wavy lines, or keep the rhubarb as stalks and not cut them - the choice is yours!
Rhubarb
310 g rhubarb stalks (around 3 stalks, 30cm length) cut into small cubes.
1.5 tablespoons coconut sugar/granulated sugar
1.5 tsp tapioca flour/cornstarch
1 tbsp butter/coconut oil/ghee melted
Method
Preheat the oven to 170C. Using a cutting board and sharp knife, cut the rhubarb stalks, creating small cubes around 1.5 cm in width. In a large bowl, place the cut rhubarb, coconut sugar, tapioca flour and melted butter. Toss gently with your hand to combine, making sure each bit of rhubarb is covered. Let this sit on the bench while you move on to make the cake.
Cake
2 eggs room temp
1/4 C maple syrup/honey
1/4 C ghee/butter melted and cooled (can sub coconut oil)
1/3 C unsweetened yoghurt of choice (can be dairy free)
1/4 C coconut sugar/granulated sugar
1 1/2 C almond flour/ground almonds
1/2 C tapioca flour
1 tsp baking powder
1/2 tsp baking soda
Method
In a large bowl, whisk the eggs together, then add the rest of the wet ingredients and mix well. In a separate bowl, combine the dry ingredients. Add the dry to the wet and mix till smooth. Set aside while you prepare the rhubarb layer in the dish.
Prepare your oven dish. I used a 26cm x 18 cm dish, if you use any other side make sure you have the right amount of rhubarb and reduce or increase the cooking time if needed.
Line the dish with baking paper, ensuring that all corners are lined. Place the rhubarb cut side down (see above for alternative options), and use the natural C shape of the rhubarb to create straight lines of rhubarb in the dish, so they are all facing the same way. Pack together the rhubarb as tightly as you can, there should be little gap between them. Once you have created a single layer of rhubarb that is tightly together in the dish, pour over your cake mixture. Gently spread this evenly over the rhubarb and give the dish a few taps on the bench to make sure there are no major air pockets.
Place the dish in the oven of the middle rack, and bake for 35-40 min, a knife should come out clean. It is important to make sure the cake is properly cooked, so I recommend the longer time (unless you have a great oven!) as otherwise, the cake may be gooey in the middle.
Let cool for 10 minutes. Carefully run a knife around the outside, then use another plate or cutting board to carefully flip it over. Take away the dish from the top and gently remove the baking paper from the top of the cake. Cut into squares and enjoy!
Best eaten fresh, or stored airtight in the refrigerator for up to five days (they won’t last that long though!).
NOM